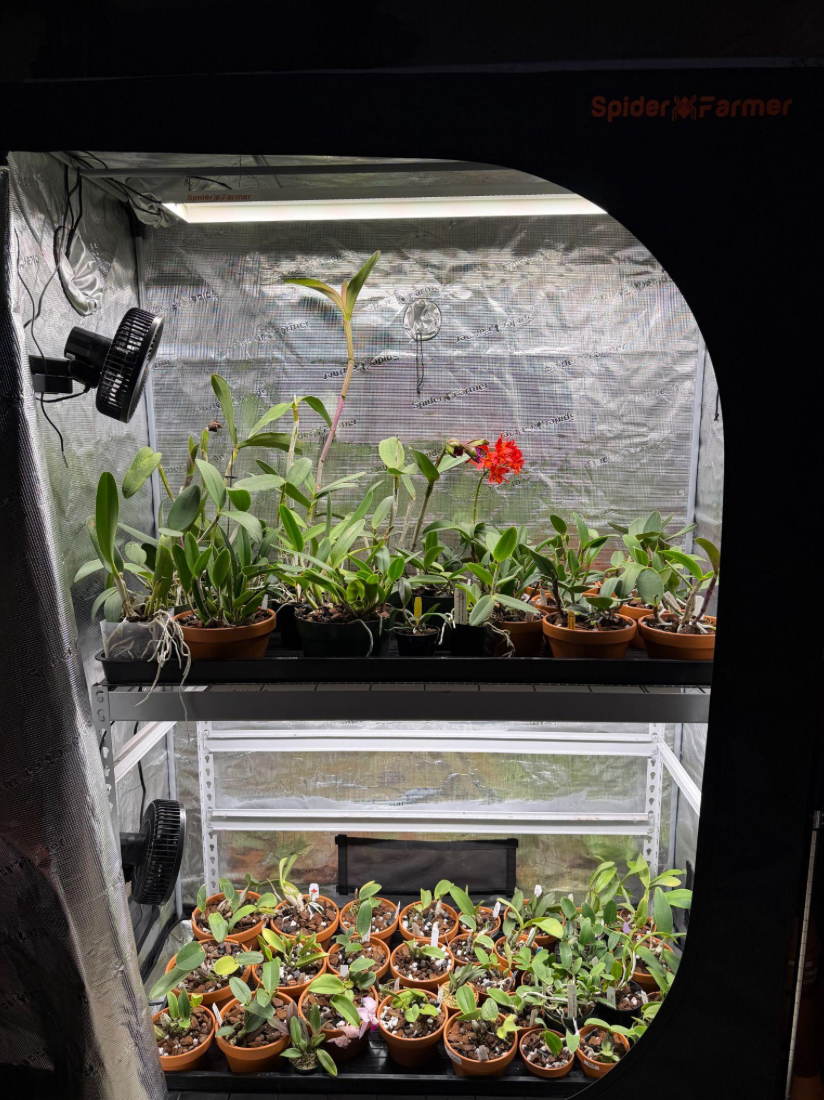
Wisconsin gives us both extremes: hot summers and very cold winters. For many growers here, a greenhouse simply isn’t realistic. I’ve found that one of the best alternatives is setting up grow tents inside the home, ideally in a basement, where temperatures tend to remain more stable throughout the year.
Over the years I’ve tried a lot of equipment—and a lot of different brands of that equipment—to figure out what actually works well. Below are the essential items I use to create what I consider an ideal 2×4-foot growing area contained within a grow tent.
The Tent and Its Main Structure
Before setting up the tent, I recommend putting an insulating layer between the tent and the floor. A cold basement floor can contribute to condensation and water pooling underneath the tent. I use ½-inch foam board insulation and cut it to match the footprint of the tent.
Foam board insulation at Menards →
While you’re at Menards, this is the shelving unit I recommend. It is approximately 48 inches wide by 24 inches deep, which makes it a very good fit for this kind of setup. If you only plan to use two growing levels, one shelving unit can actually be divided to create two separate setups.
Wire shelving unit at Menards →
Next is the grow tent itself. A standard “true” 2×4 tent usually isn’t large enough to comfortably fit the shelving unit above, so you need something with a little extra room. This is the tent I’ve found works best for the setup.
If your tent is going into a basement that gets cold during the winter, I also recommend adding an insulated layer around it. I remove mine during the summer and put it back in place when colder weather arrives.
Fans
Air movement is essential. I recommend one oscillating fan per shelf. These are often less expensive when purchased as a pair.
Light Options
Everybody needs lights.
If you are growing orchids that need bright, Cattleya-level light, I recommend one of these fixtures per shelf.
For orchids that prefer moderate to lower light, I would use one or two of these fixtures per growing level.
Moderate-light option at Costco →
If you aren’t sure exactly what light level you’ll need—or you want the flexibility to adjust each growing level independently—these fixtures are more expensive, but they are terrific. I would use one per shelf.
Other Essentials
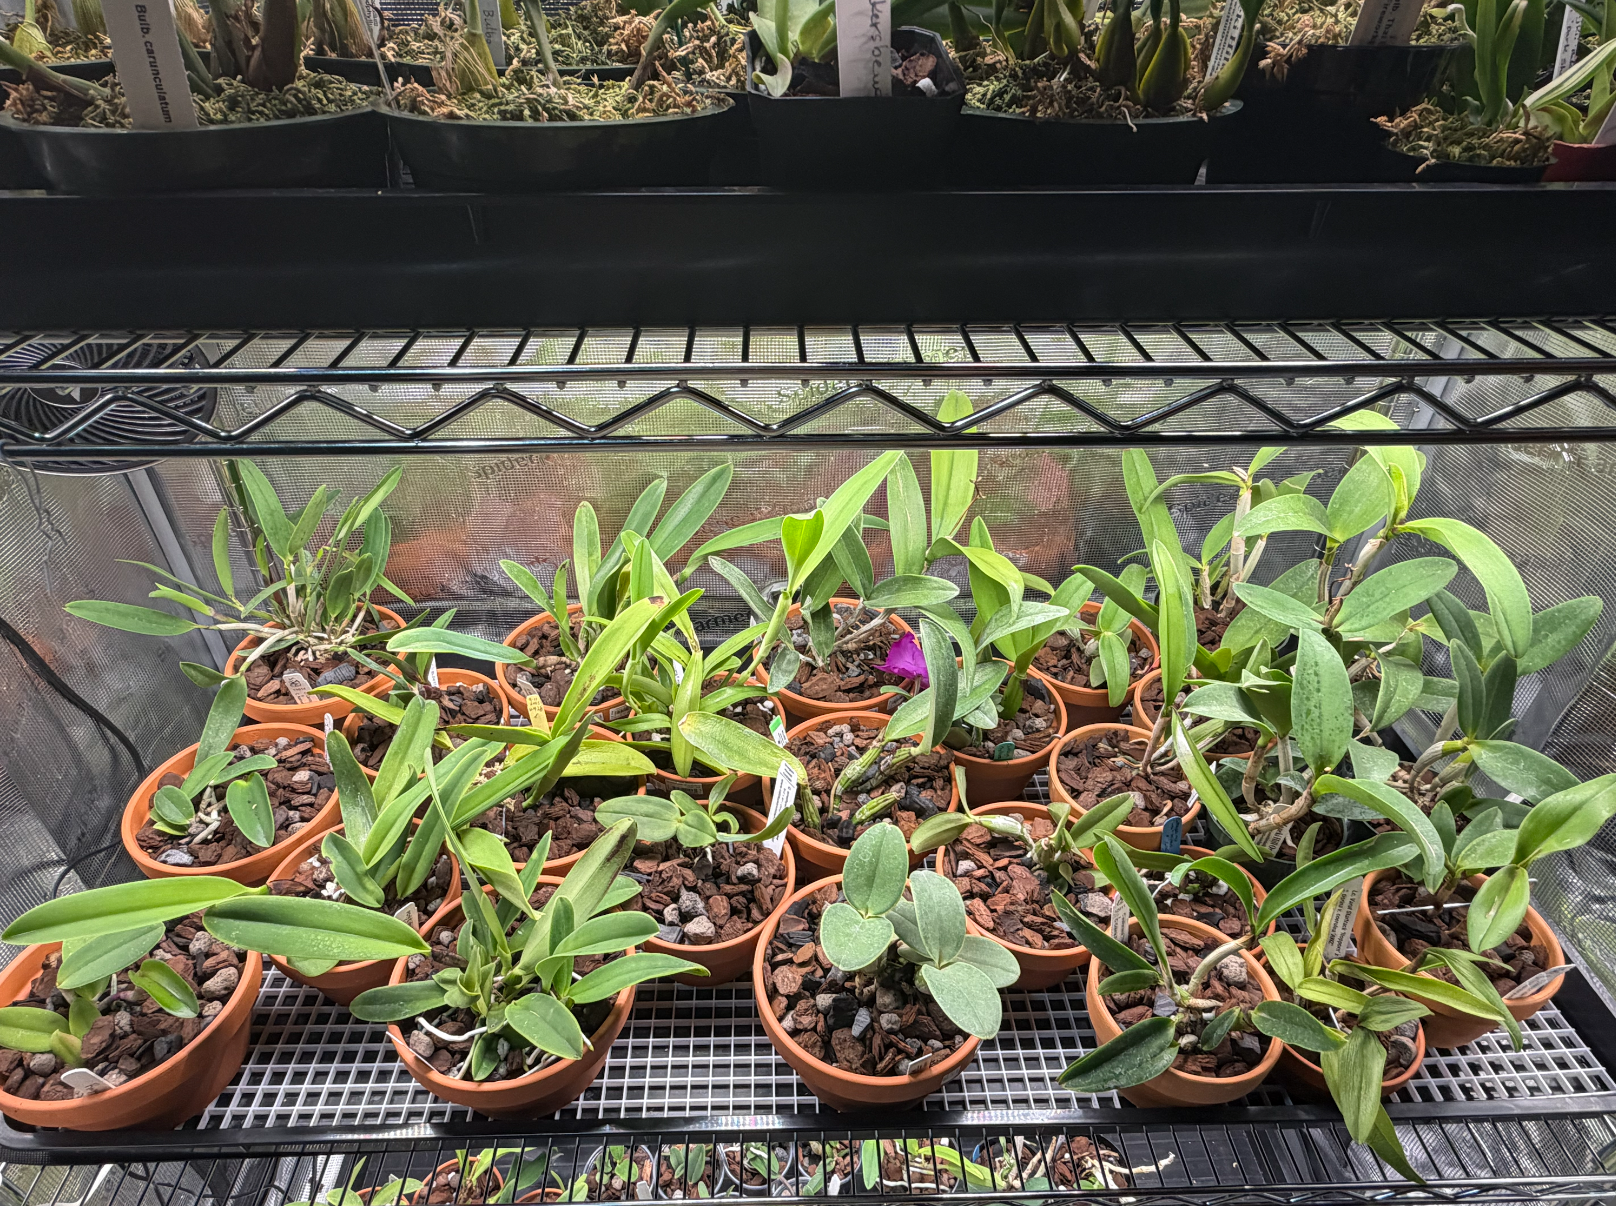
Watering inside a grow tent means you need some way to contain runoff. These large trays are a must for me.
I also recommend lining each tray with a plastic grate. The grate raises the pots above the bottom of the tray so they aren’t sitting directly in collected water.
Finally, I like being able to monitor temperature and humidity inside the tent. These sensors work very well and connect to an app, which makes it easy to keep an eye on conditions.
Temperature and humidity sensors →
This setup is the result of a lot of trial and error, and it has given me a practical way to grow a wide range of orchids indoors through Wisconsin’s seasonal extremes.